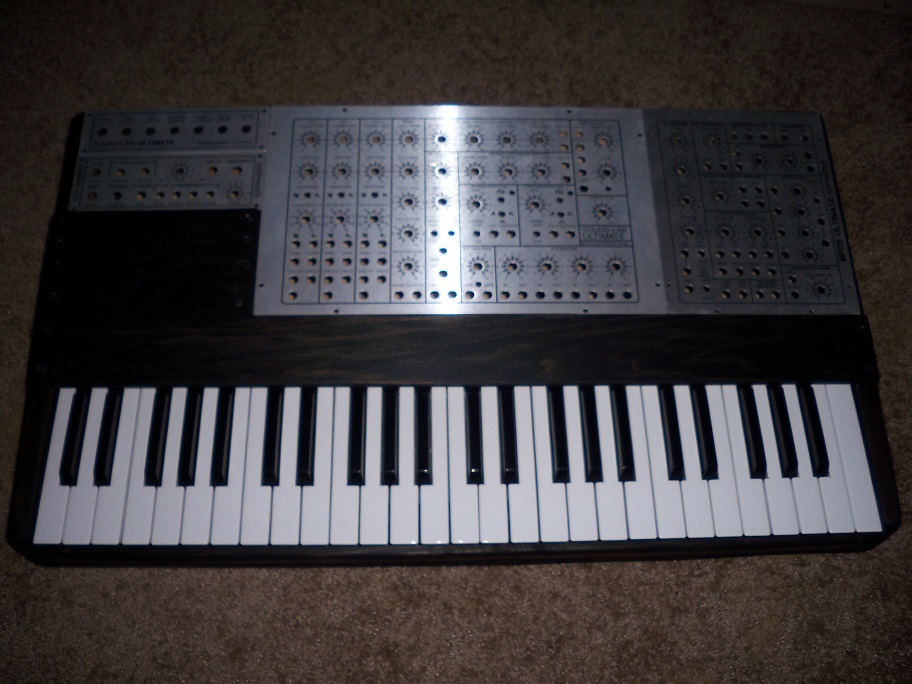
PROJECT OVERVIEW
I’m working on putting together a MFOS Soundlab Ultimate with Expander and CV keyboard, all in one unit. I’m going to include MIDI to CV by including a MIDI to CV kit from Paia.
CV KEYBOARD
For the project, I’m going to use a CV keyboard so that the synth can be truly analog. I felt that a CV keyboard would be the right option for the project. I didn’t hurt that it’s also the cheapest option.
I’ve had this 5 Octave Midiman Keystation controller sitting in a closet for ages. The case was literally falling apart. I bought it nearly 15 years ago at a guitar center. It was the last one they had (midiman had just become M-Audio) and it had been used as the floor model. I bought it then for $75, a steal even then.
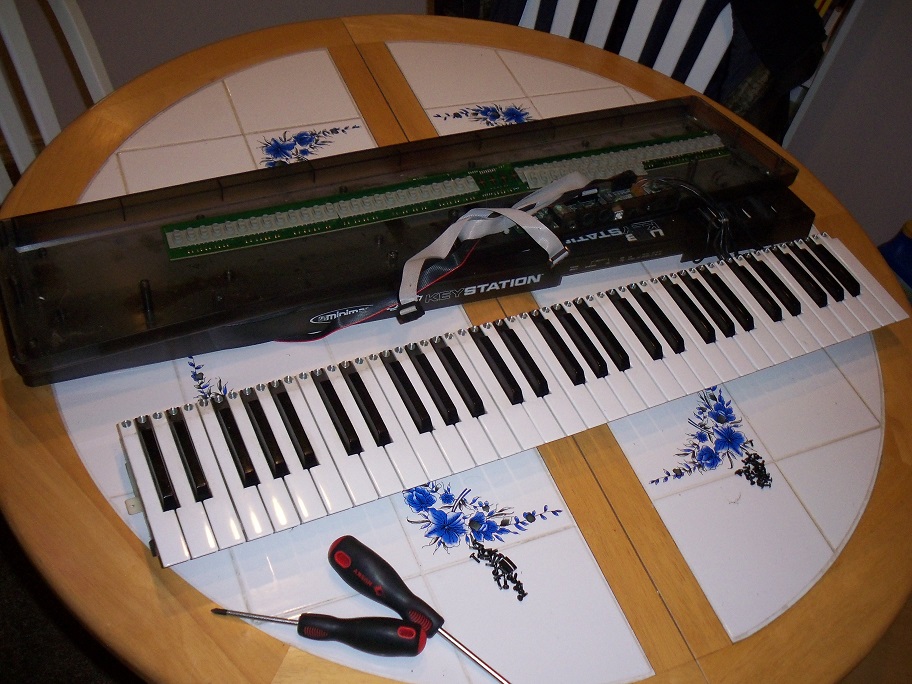
Well, it’s time to give it new life. The keys have decent action for a synth, so they be good to use for my homebrew CV keyboard. I cut off the 5th octave. Maybe I’ll sell the keys as spares on ebay, or even keep them for a future restoration project. Who knows. But sometimes an object is worth less than the sum of it’s parts.
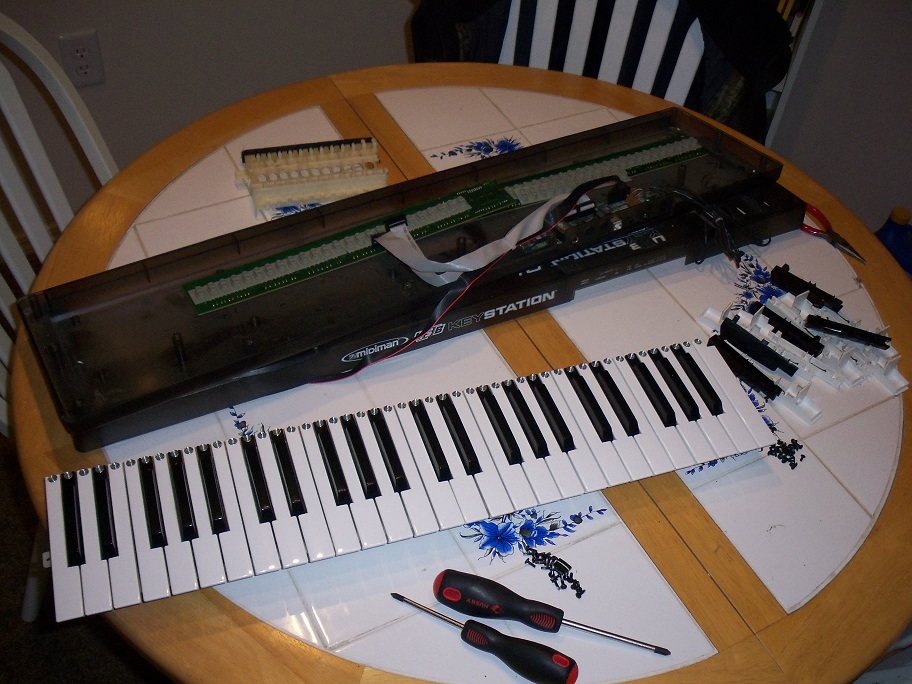
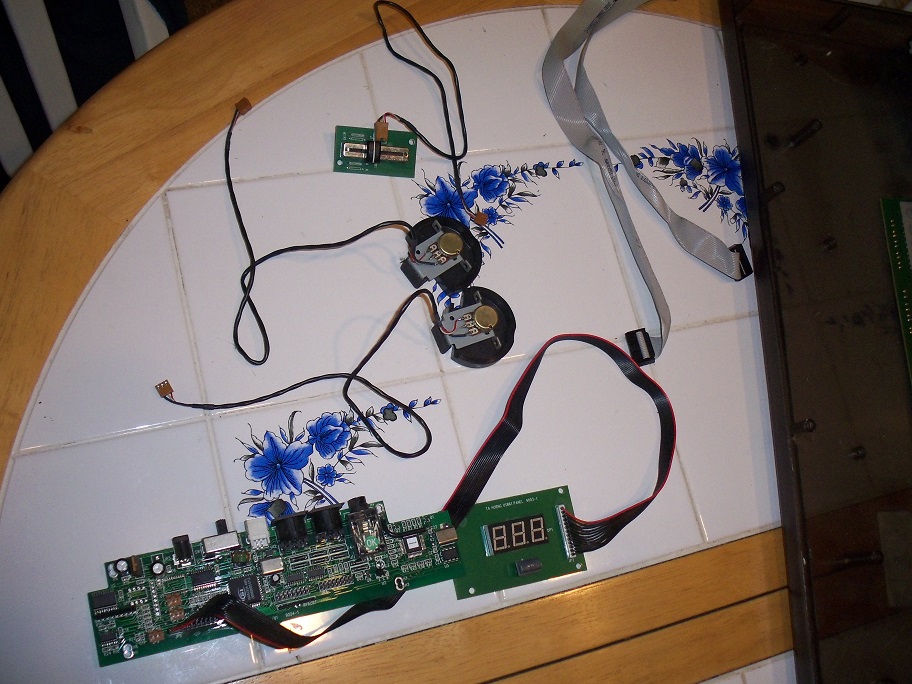
All the electronics work, so they’ll be nice to have for other projects. I salvaged two nice dials with pots and wiring, one spring loaded and one not. I got a slide pot that’s already mounted to a pcb and wired so it’ll be easy to incorporate into a project. I yanked out two wiring harnesses, 16 pin, i think. Finally, I got what may end up being the brains to a future midi controller project, that has USB and a nice little display.
…Back to the new synth. I had to replace the PCB and all the buttons on the keyboard. I used replacement buttons for a Yamaha RM1x, super cheap on ebay.
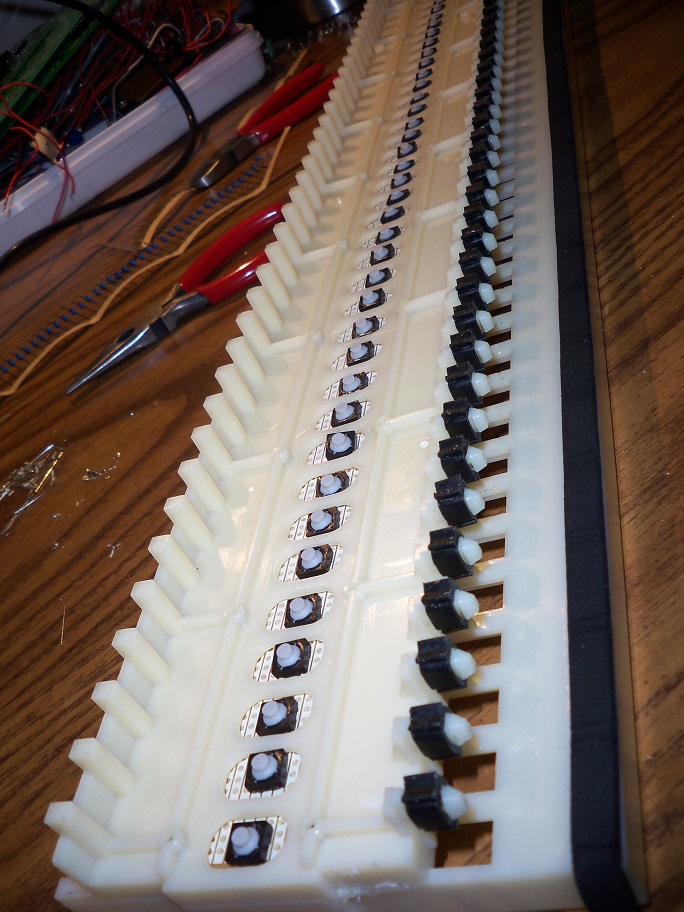
Once all the buttons were in place, I added the 100 ohm resistors between each button. Notice that I also cleared some of he copper strips to make way for the new circuitry.
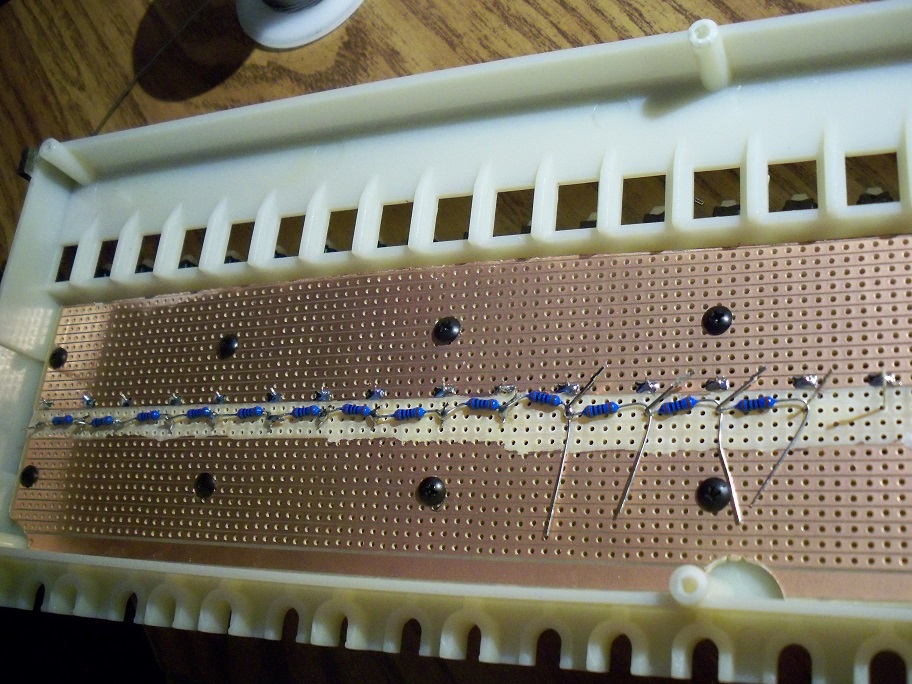
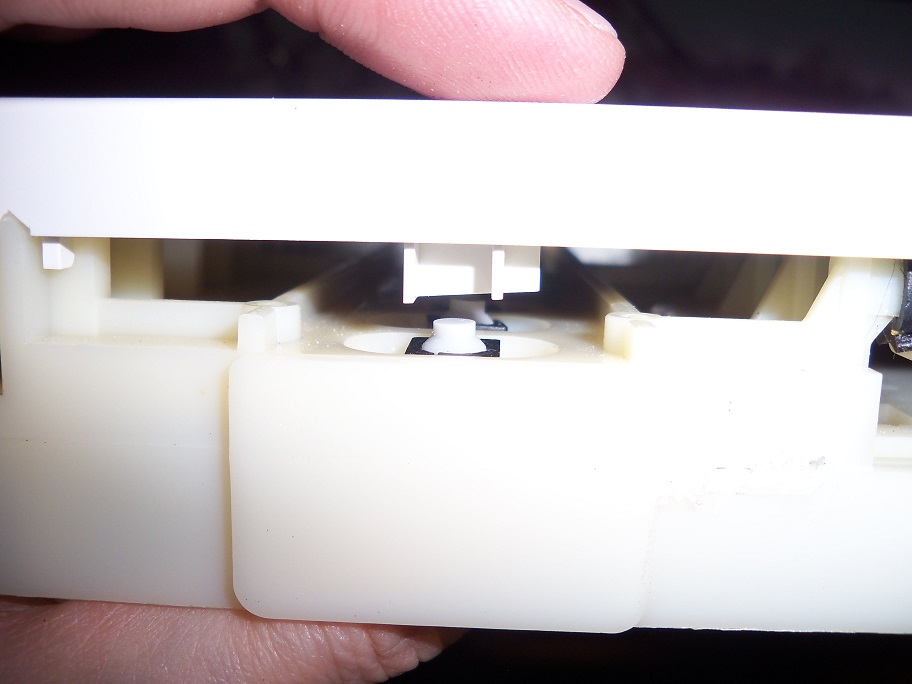
I also have another issue I need to solve. The plunger on the new buttons is too far from the bottom of the keys to get depressed as is. What I think will work here is attaching some craft foam using some JB Weld to glue it together. (I love JB Weld, it sticks to almost everything and is hard as a rock when dry. I use it in a lot of my projects.) It’ll even match, as the keyboard already uses foam and rubber in places to make the keys feel right when played.
Custom Case
This time I decided against a Ponoko case in favor of a wood one. This synth is just too large to make a Ponoko case feasible. Since my woodworking skills leave a lot to be desired, I’ll leave out the details and just leave this picture here. The case in this picture is not quite done. There will be some modifications done to add a MIDI input jack, and CV, Trigger and Gate outputs, etc. above the keyboard.
PROJECT COSTS
Please note that this is not a cheap project. I would not recommend it to beginners simply due to the potential cost of screwing it up.
MFOS Order – $401.15
SOUNDLAB ULTIMATE w/ both faceplates and all optional parts
SOUNDLAB ULTIMATE EXPANDER w/ both faceplates and all optional parts
Single Buss 1V/Oct. Kbd. Ctrl. PCB w/ all optional components
PAIA Order – $205.35
9700K MIDI2CV8 Electronics Kit
9770R-12 Regulated +/- 12V Power Supply Kit
Mouser Order #1 (CV Keyboard components) – $19.22
Mouser Order #2 (all remaining components) – $508.00
new tactile switches for keyboard – $31.00